Comment exécuter des fichiers EXE sur un Mac
Les fichiers EXE sont des fichiers exécutables Windows, le type de fichier principal de la plupart des programmes Windows. Malheureusement, les Mac ne peuvent pas les exécuter immédiatement, ce qui peut être un problème pour les programmes, tels que les jeux et les applications professionnelles, qui n'ont pas de version Mac. Mais, si vous avez un Mac avec un processeur Intel avec OS X Leopard ou une version ultérieure, Apple vous a gracieusement fourni un petit utilitaire appelé Boot Camp pour faire exactement cela.
Boot Camp vous aidera à configurer une section distincte de votre disque dur qui vous permettra d'installer Windows sur votre ordinateur comme si votre Mac était un PC. Étant donné que vous allez installer une véritable copie de Windows directement sur votre matériel Mac, tout ce qui peut s'exécuter sous Windows s'exécutera sur votre Mac.
Remarque :Les captures d'écran de ce didacticiel montrent une installation de Windows XP. L'installation de Windows Vista ou Windows 7 sera différente, mais les étapes sont fondamentalement les mêmes.
Étape 1
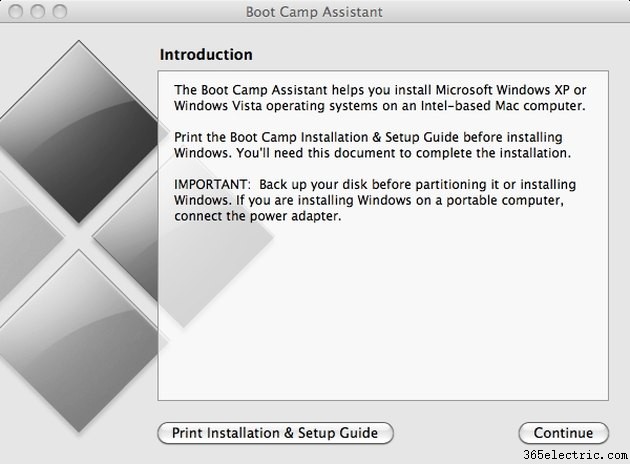
Ouvrez votre utilitaire Boot Camp Assistant. Il devrait être situé sous ~/Applications/Utilities/Boot Camp Assistant. Double-cliquez sur l'icône pour démarrer le programme.
Étape 2
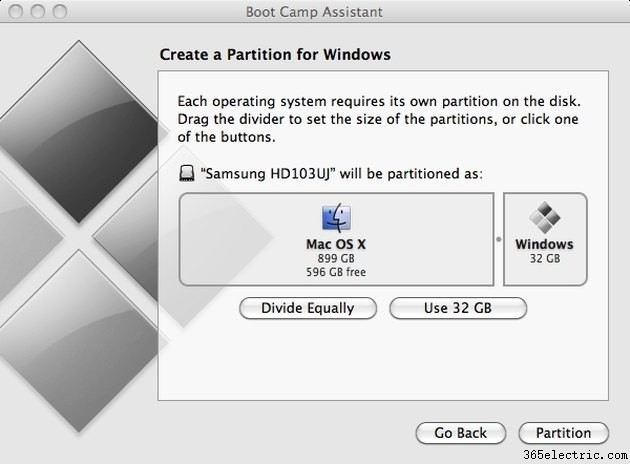
Partitionnez votre disque dur. Sélectionnez la taille de votre installation de Windows. Les installations de Windows sont assez volumineuses, alors assurez-vous d'allouer suffisamment d'espace pour que Windows puisse s'adapter. Windows XP occupe environ 1,5 Go, Vista environ 20 à 40 Go et Windows 7 environ 20 Go.
L'assistant Boot Camp créera alors une partition spéciale de votre disque dur uniquement pour Windows.
Étape 3
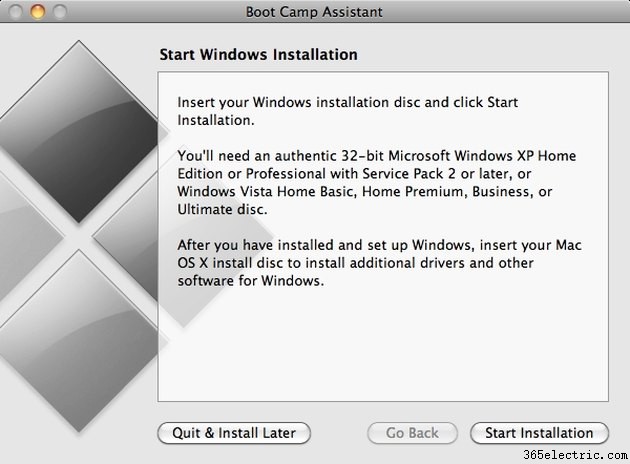
Insérez votre disque Windows et cliquez sur "Démarrer l'installation". Votre ordinateur va redémarrer et commencer le processus d'installation de Windows.
Étape 4
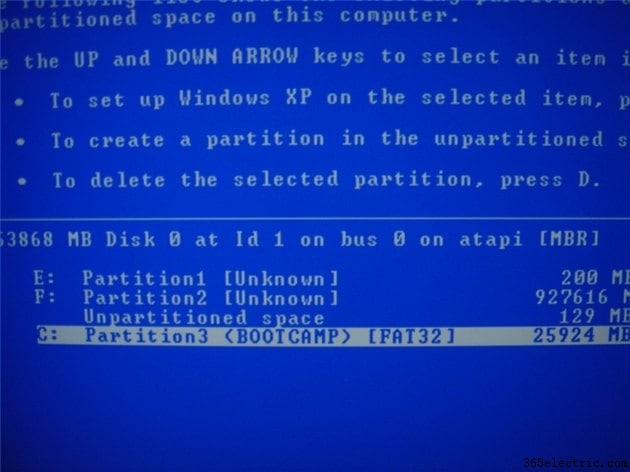
Sélectionnez votre nouvelle partition Boot Camp. Une fois votre ordinateur redémarré, il commencera à charger le programme d'installation de Windows. Il vous sera demandé sur quelle partition vous souhaitez installer Windows. Assurez-vous absolument de sélectionner la partition que vous avez créée avec Boot Camp. Il devrait avoir la taille que vous avez spécifiée à l'étape 2, et l'assistant Boot Camp l'aura nommé "BOOTCAMP".
Attention :ne sélectionnez pas votre partition Mac habituelle. L'installation de Windows écrasera ou effacera les données qui se trouvent déjà sur votre Mac.
Étape 5
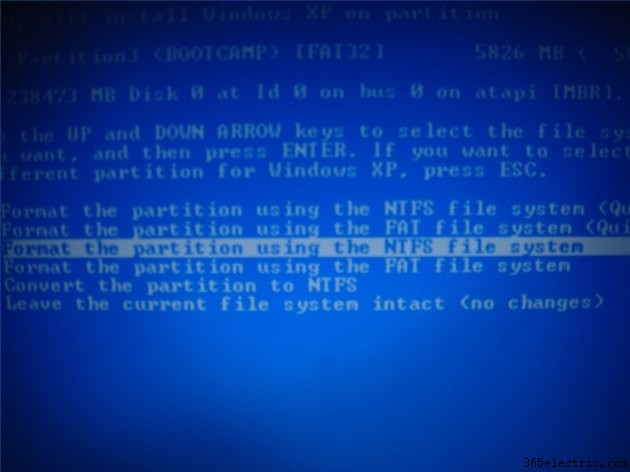
Sélectionnez le type de format. Si vous installez Windows XP, le programme d'installation vous demandera comment vous souhaitez formater votre partition Windows. Vous avez deux choix :FAT32 et NTFS. If you are installing Vista or later, your only choice is NTFS.
FAT32 is an older way of organizing files, and will not work on partitions larger than 32GB but it will also let the Mac side of your computer save files to the Windows side of your computer. NTFS is more advanced, and supports larger partition sizes, but your Mac will only be able to read files from your Windows partition, not write them. If your Windows partition size is larger than 32GB, select NTFS. If not, select FAT32.
Hit enter or click "Okay," depending on what version of Windows you're installing, and the format and install process will begin. Make yourself a sandwich. This may take a while, depending on how big the partition is.
Étape 6
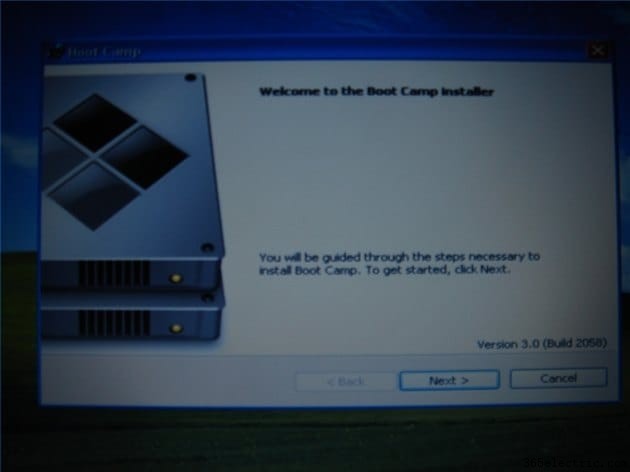
Install Apple drivers and utilities. Once the Windows install process is complete, your computer will restart and boot into Windows. It looks pretty raw, since it's running with all the default settings. Don't worry, you'll take care of that now. Apple has provided software to tell Windows how to run all the Mac hardware. Eject your Windows disc and insert your Mac OS X 10.5 Leopard or later disc.
If you're running XP, the Apple install program should begin automatically. If you're running Vista or Windows 7, select and run "setup.exe" when prompted.
Agree to the license agreement and make sure you check the "Install Apple Software Update for Windows" option. Sit back and watch the Apple installer do its thing. Ignore any weird messages or popups. Once the installer is complete, click "yes" to restart the system once more.
You're done! You can now install and run any Windows program on your Mac by booting into Windows.
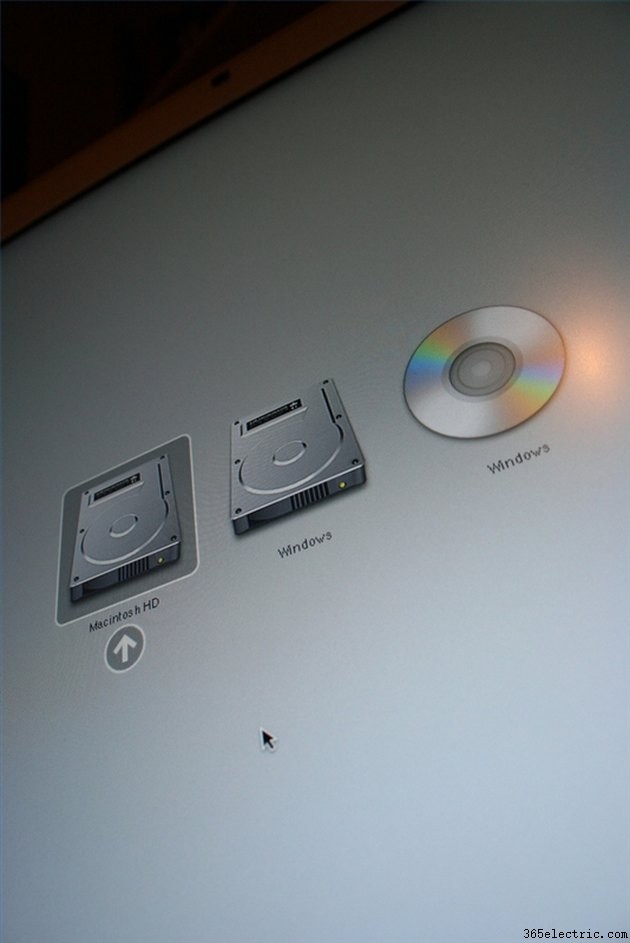
Now whenever your Mac restarts, you can hold down the Option key to select which operating system to boot into---OS X or Windows.
Astuce
Apple has provided a utility called "Start Up Disk" to select which operating system starts up your computer. On the OS X side it's located in the System Preferences, and on Windows it's located in the Control Panel.
If you ever want to delete your Windows partition, run the Boot Camp Assistant again and it will give you the option to return your hard drive to its original configuration. Just be aware that you will be deleting all data on that partition.
Avertissement
Always remember to back up any valuable data or other important items from your hard drive in case something goes wrong.
Make sure you don't select your OS X partition when installing Windows, or else you risk losing all of your data.
